🎉 Streamlining the Checkout Process: Disabling the Address Field in WordPress WooCommerce! 🚀
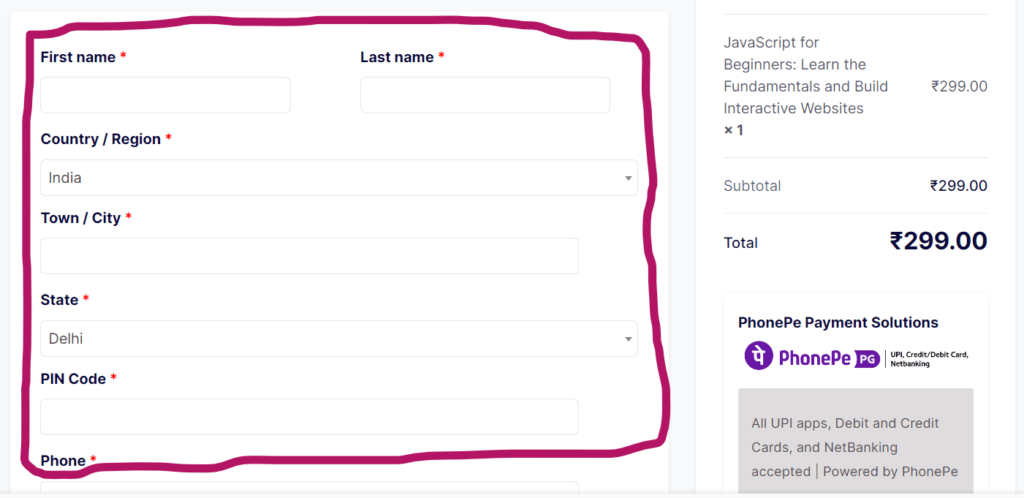
Learn how to disable the address field during the checkout process on your WordPress WooCommerce store to improve customer experience in this in-depth guide. Help your clients transact more quickly and easily to cut down on friction and maybe increase conversions.
🚀 You may easily deactivate the address field by following our step-by-step tutorial, which guarantees a smooth checkout procedure for your online customers. We’ll look at a variety of approaches, to suit varying skill levels and tastes, from using the integrated WooCommerce settings to putting bespoke code solutions into practice.
💻💡
Step 1. Access your WordPress admin dashboard.
Step 2. Navigate to Appearance — Theme Editor.
Step 3. Open the functions.php file of your theme or create a new custom plugin.
Step 4. Add the following code at the end of the file:
add_filter('woocommerce_checkout_fields', 'remove_billing_field');

function remove_billing_field($fields) {
    unset($fields['billing']['billing_company']); // Replace 'billing_field_name' with the actual field you want to remove
	unset($fields['billing']['billing_address_1']);
	unset($fields['billing']['billing_address_2']);
	//unset($fields['billing']['billing_email']);
    return $fields;
}

First of all,
In the world of internet shopping, offering a smooth and customized user experience is critical. Frequently disregarded is the post-purchase process, particularly the ‘Thank You’ page. This blog article discusses a unique way for WooCommerce stores to offer a customized redirect following a successful transaction.
Online store owners can improve the post-purchase experience for their consumers and possibly increase customer loyalty by adopting this custom WooCommerce Thank You page redirect.
					function custom_redirect_thankyou( $order_id ) {
	$order = wc_get_order( $order_id );
	$redirect_url = 'https://codewithcode.com/thank-you/';
	 wp_safe_redirect( $redirect_url );
	exit;
}
add_action( 'woocommerce_thankyou', 'custom_redirect_thankyou', 10, 1 );
Function Declaration:
function custom_redirect_thankyou( $order_id ) {}
This declares a PHP function named custom_redirect_thankyou that takes an order ID as its parameter.
Get Order Information:
$order = wc_get_order( $order_id );
It retrieves the WooCommerce order object based on the provided order ID using the wc_get_order function.
Redirect URL:
$redirect_url = ‘https://codewithcode.com/thank-you/’;
Specifies the URL to which the user will be redirected after completing a purchase. In this case, it’s set to ‘https://codewithcode.com/thank-you/’.
Safe Redirect:
wp_safe_redirect( $redirect_url );
This WordPress function performs a safe redirect to the specified URL. It helps prevent certain types of URL-based attacks.
Exits the script immediately after the redirect to ensure that no further code execution takes place.
Hooking into WooCommerce Thank You Page:
add_action( ‘woocommerce_thankyou‘, ‘custom_redirect_thankyou‘, 10, 1 );
Hooks the custom_redirect_thankyou function to the ‘woocommerce_thankyou’ action with a priority of 10 and passing one argument (the order ID).
					    $billing_phone = $order->get_billing_phone();
    $billing_city = $order->get_billing_city();
    $billing_name = $order->get_billing_first_name();
    // And May More Data you can get it
					//Now Your Custom Redirect URL Will Be Like This

$redirect_url = 'https://codewithcode.com/thank-you/?phone=' . $billing_phone . '&city=' . $billing_city;
Businesses can not only reroute clients to a personalized ‘Thank You’ page but also customize and personalize the post-purchase experience by utilizing the abundance of data provided by the WooCommerce order object. This degree of customization has the power to make an impact that lasts, encouraging client loyalty and happiness.


Wonderful beat I wish to apprentice while you amend your web site how could i subscribe for a blog web site The account aided me a acceptable deal I had been a little bit acquainted of this your broadcast provided bright clear idea
Somebody essentially lend a hand to make significantly posts I might state That is the very first time I frequented your web page and up to now I surprised with the research you made to create this particular put up amazing Excellent job